Scenario testing
Scenario testing lets you describe a small Stationeers situation, run an IC10 program in it, and check what happened. It is much easier to trust an automation program when the same test can be run repeatedly after every change.
You do not need VS Code or a running Stationeers game to run these tests. The bundled simulator runs the scenario using the same deterministic world model used by the debugger.
Use the shared example
The Scenario Workbench is the example used throughout this guide. Its checked-in files live in examples/scenario-workbench/ and include passing cases, parameters, timeline input, snapshots, and an intentional failure for practising Test Explorer.
The basic idea
Think of a scenario test as a short story:
- Initial state — set up the world before the program starts.
- Timeline — change something at a particular simulation tick.
- Assertions — describe what must be true while the story runs.
- Snapshot — record the important final values.
The reusable world layout lives in a *.icsim simulation file. The test file, *.ictest, supplies the situation and expected results. This keeps one environment reusable across many test cases.
A complete example
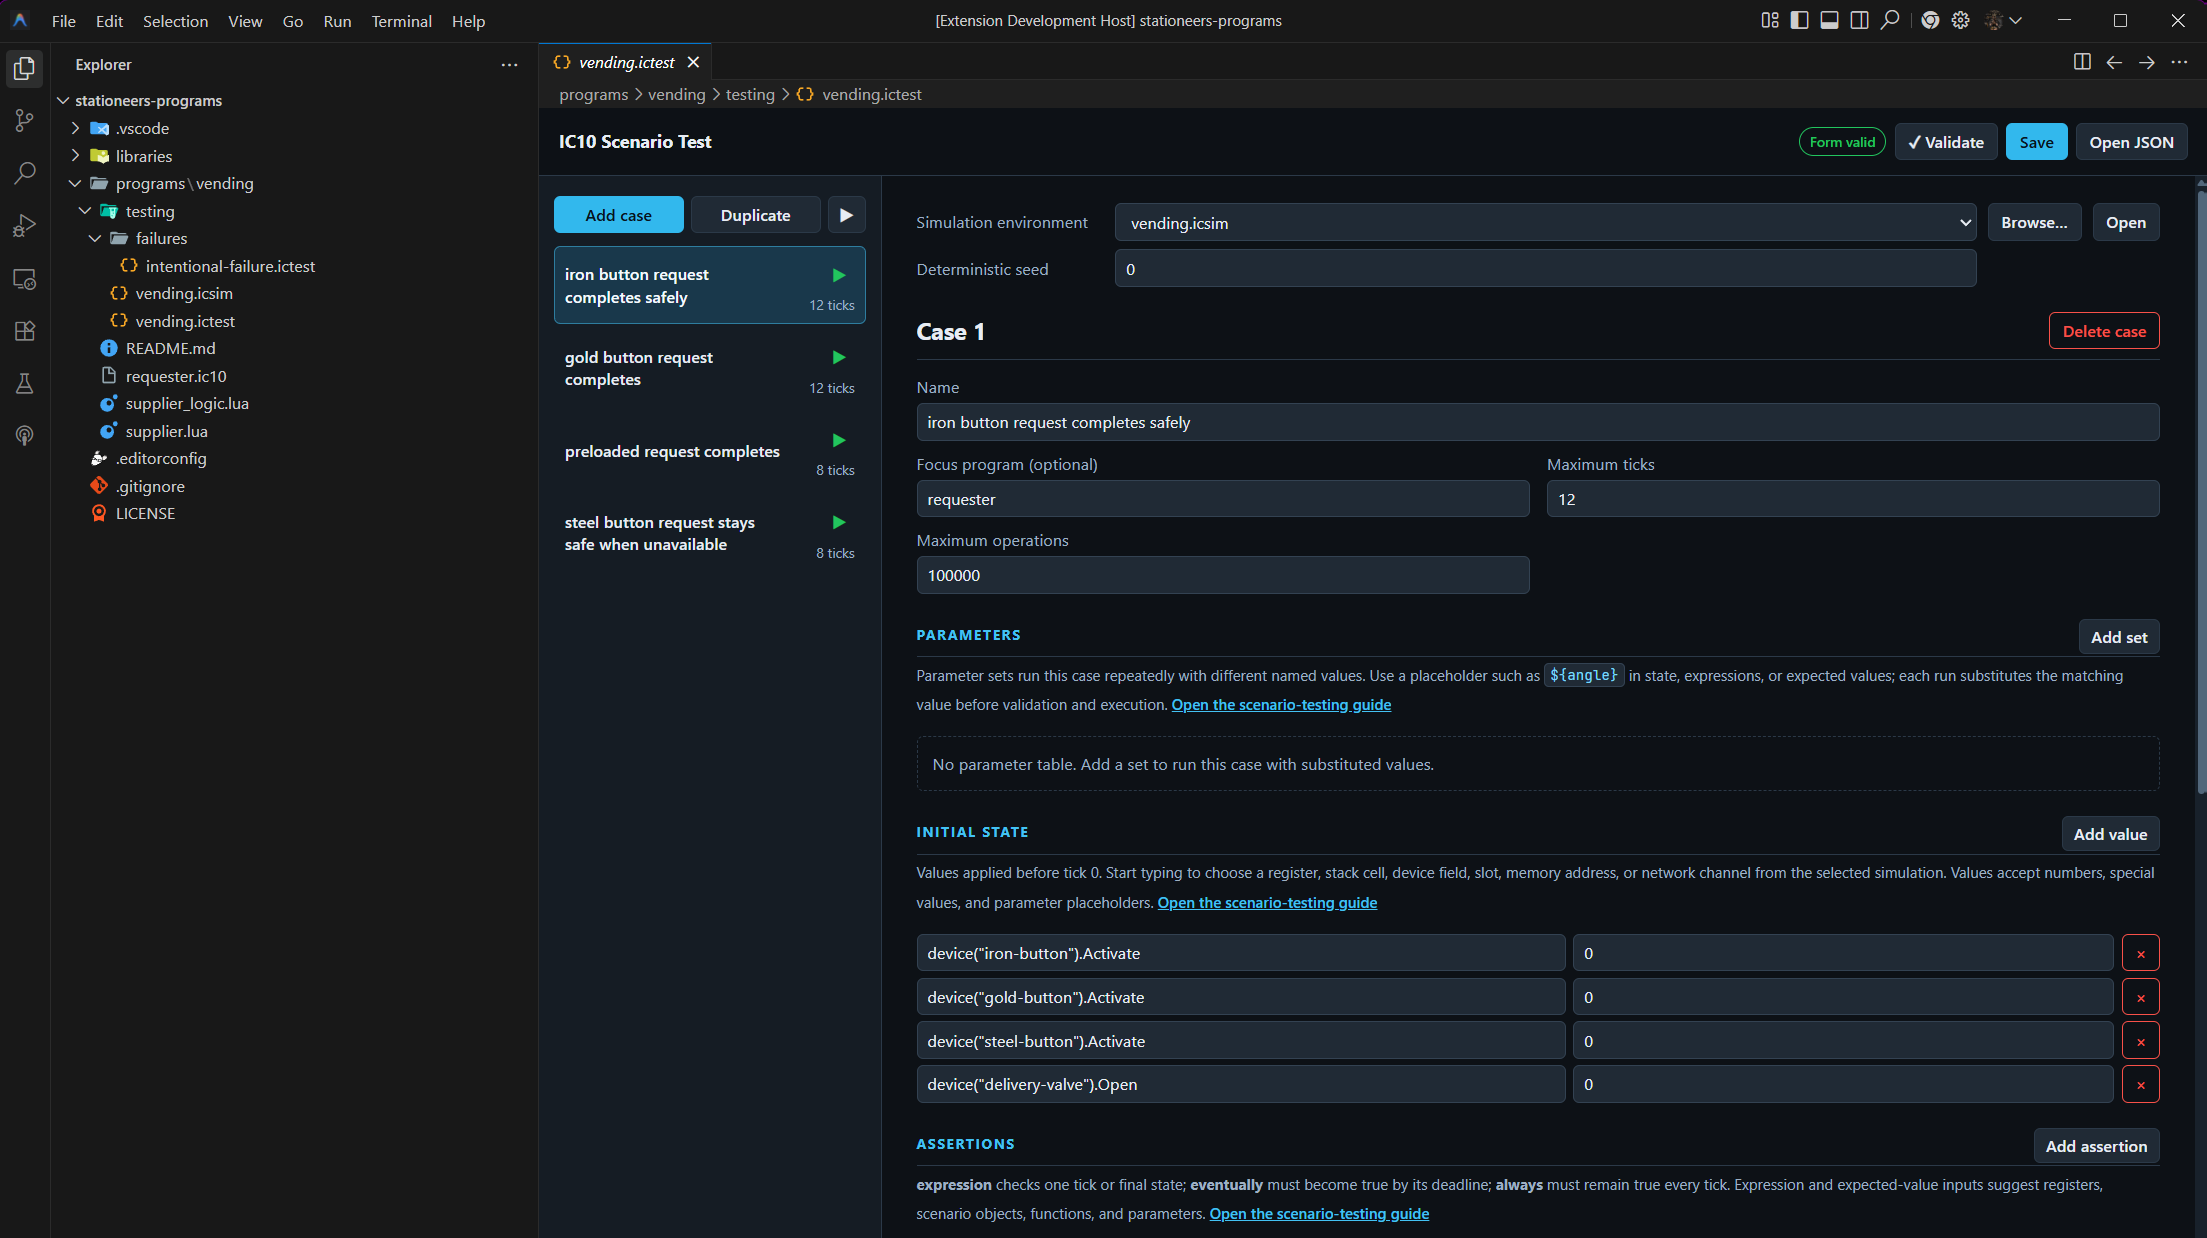
This example presses the iron request button, waits for the Lua supplier to activate the iron vendor, and checks that the item reaches the outlet.
json
{
  "schemaVersion": 1,
  "scenario": "./workbench.icsim",
  "cases": [
    {
      "name": "iron button request completes safely",
      "maxTicks": 20,
      "focusProgram": "airlock-controller",
      "initial": {
        "device(\"iron-button\").Activate": 0,
        "device(\"delivery-valve\").Open": 0
      },
      "timeline": [
        {
          "tick": 1,
          "set": {"device(\"iron-button\").Activate": 1}
        },
        {
          "tick": 2,
          "set": {"device(\"iron-button\").Activate": 0}
        }
      ],
      "expect": [
        {
          "expression": "r2",
          "expected": 0,
          "atTick": 1
        },
        {
          "eventually": "device(\"delivery-outlet\").slot[0].OccupantHash == -1301215609",
          "withinTicks": 8
        },
        {
          "always": "device(\"gold-vendor\").slot[2].Quantity == 50"
        }
      ],
      "snapshot": {
        "values": {
          "r2": 1,
          "device(\"delivery-valve\").Open": 0,
          "device(\"delivery-outlet\").ExportCount": 1
        }
      }
    }
  ]
}You can create this structure with IC10: Create Scenario Test, then use the visual editor. Open JSON is available whenever you want to inspect or edit the source directly.
Initial state: where a test starts
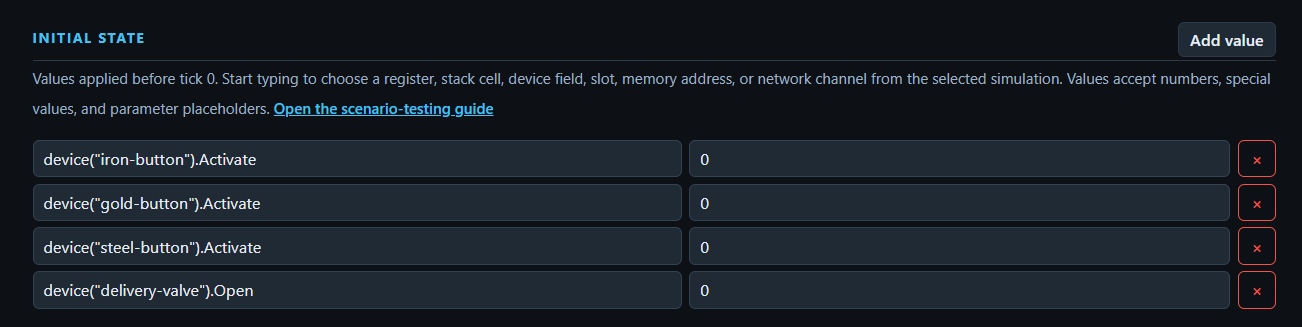
initial is the starting line-up for one test case. It overrides selected values in the reusable simulation before the first world tick. Use it when you want a test to begin with a known condition, such as:
- a register containing a setup value;
- a tank or sensor at a particular pressure or temperature;
- a device switched on or off;
- an item in a slot;
- a cable-network channel containing a message or value.
For example, this test starts with all three request buttons released and the delivery valve closed:
json
"initial": {
  "device(\"iron-button\").Activate": 0,
  "device(\"gold-button\").Activate": 0,
  "device(\"steel-button\").Activate": 0,
  "device(\"delivery-valve\").Open": 0
}Why use it? Without an explicit initial state, a test can accidentally depend on whatever values happen to be in the shared simulation file. Initial state makes the test explainable and repeatable: anyone can see the conditions under which the program is being checked.
Initial state is not a recording of the whole world. The simulation file still defines the devices and networks; initial only changes the values relevant to this case.
Assertions: what the program must prove
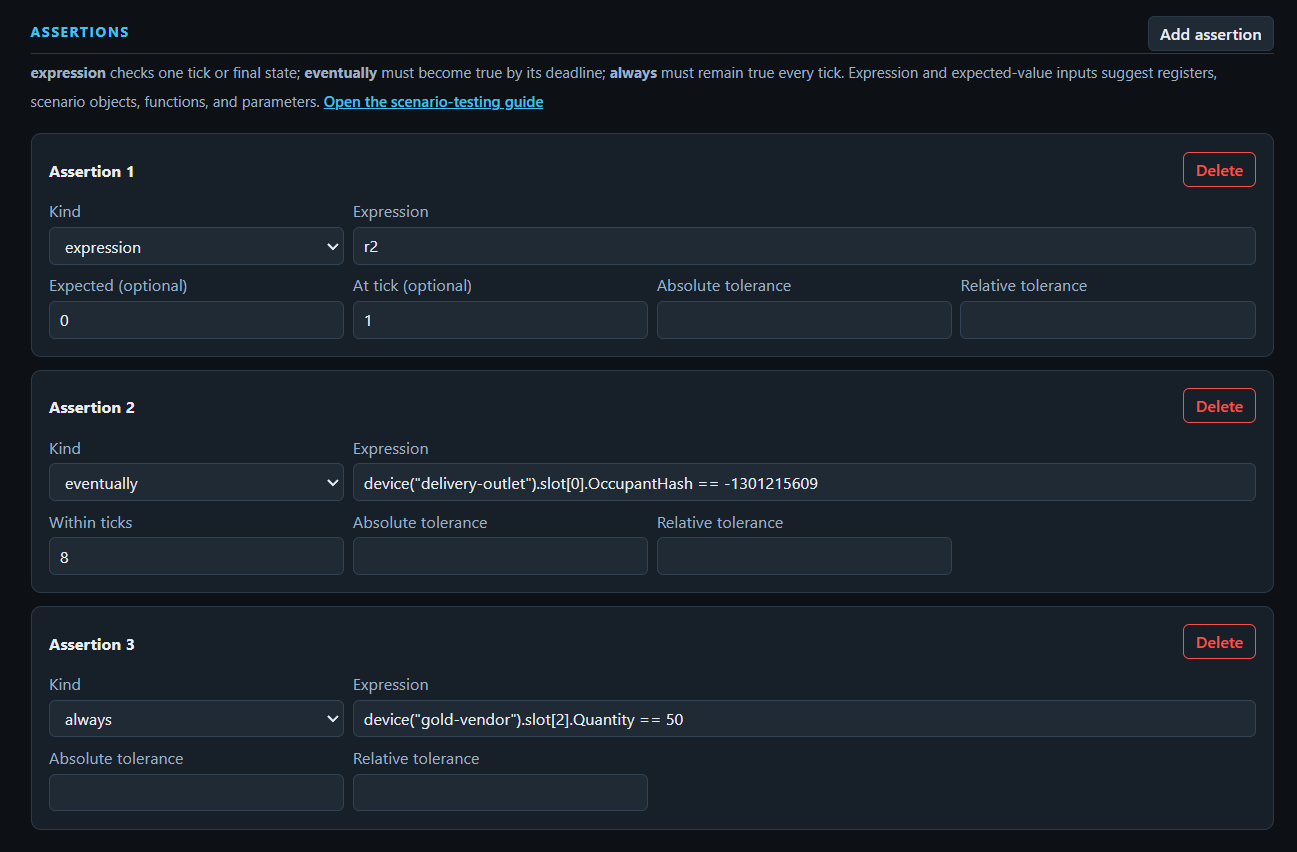
The expect array contains assertions. An assertion is simply a statement that must be true for the test to pass. The expression language can inspect registers, stacks, devices, slots, memory, network channels, and tick.
Check one value at one moment
Use expression when you want to check one exact tick. Add expected when the expression returns a number:
json
{
  "expression": "r0",
  "expected": 42,
  "atTick": 3
}If you leave out expected, the expression is treated as a truth check:
json
{
  "expression": "device(\"lamp\").On == 1",
  "atTick": 4
}If atTick is omitted, the expression is checked against the final state.
Check that something eventually happens
Use eventually when the exact tick is not important, but the result must occur before a deadline. This is useful for programs that need a few ticks to react:
json
{
  "eventually": "device(\"door\").Open == 1",
  "withinTicks": 10
}The assertion passes as soon as the expression becomes true. If it is still false after ten ticks, the test fails.
Check that something is always safe
Use always for an invariant: a condition that must remain true throughout the run. This is ideal for safety rules:
json
{
  "always": "device(\"inner-door\").Open == 0"
}This catches a door opening at the wrong time even if the program eventually reaches its intended final state.
Allow small numeric differences
For finite numeric values, tolerance allows a controlled difference:
json
{
  "expression": "device(\"sensor\").Temperature",
  "expected": 293.15,
  "tolerance": {
    "absolute": 0.05,
    "relative": 0.001
  }
}Use tolerance only when the simulation or calculation genuinely permits a small difference. Exact assertions are easier to understand when exact values are expected.
Timeline: changing the world while it runs
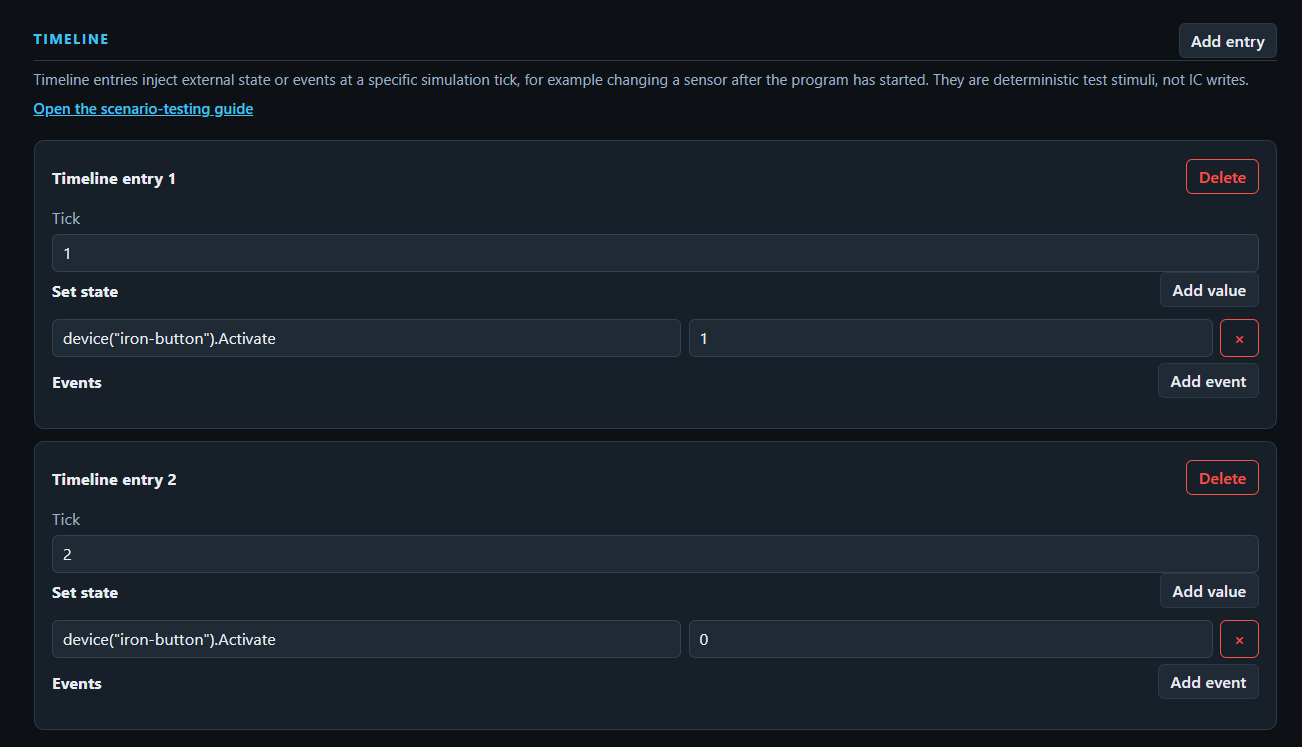
The timeline is a list of outside events. Each event happens at a simulation tick and changes one or more assignable values. It represents something the program does not control: a sensor changing, a player pressing a button, a network message arriving, or a machine receiving a new input.
json
"timeline": [
  {
    "tick": 1,
    "set": {"device(\"gold-button\").Activate": 1}
  },
  {
    "tick": 2,
    "set": {"device(\"gold-button\").Activate": 0}
  }
]Timeline ticks are simulation ticks, not seconds. Keeping the test driven by ticks makes it deterministic and avoids depending on the speed of your computer. Use initial for conditions that exist before the program begins; use timeline for changes that happen during the test.
Parameters: one test with many inputs
Parameters let you run the same case several times with different values. This is useful for testing sunrise, noon, and sunset without duplicating the whole case.
json
{
  "name": "preloaded request completes",
  "initial": {
    "r0": "${requestedHash}"
  },
  "parameters": [
    { "name": "iron", "requestedHash": -1301215609 },
    { "name": "gold", "requestedHash": 226410516 }
  ],
  "expect": [
    {
      "eventually": "device(\"delivery-outlet\").slot[0].Occupied == 1",
      "withinTicks": 5
    }
  ]
}The editor and Test Explorer show these as named child runs. ${angle} is replaced separately for each parameter row, so a failure tells you which input failed. Parameters can be used in names, expressions, targets, and scalar values.

Snapshots: important final values
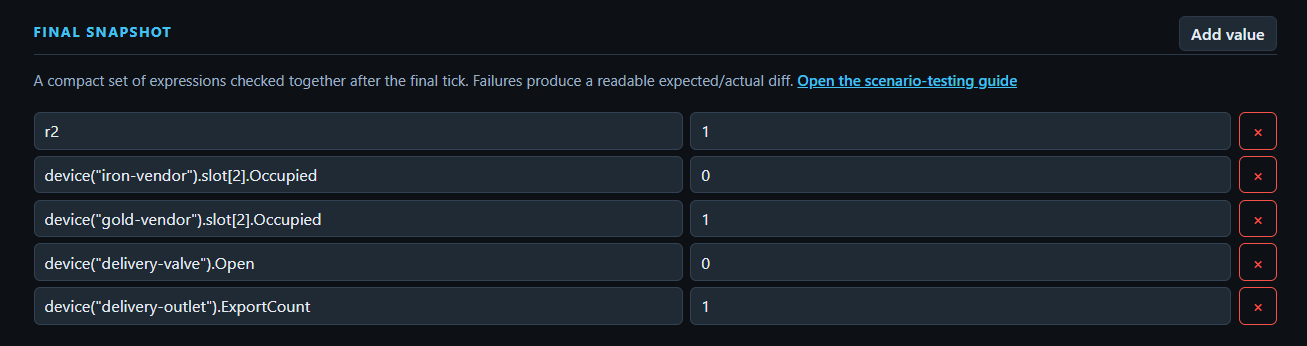
A snapshot is a compact final-state checklist. It maps expressions to the values they must have when the case finishes:
json
"snapshot": {
  "values": {
    "r2": 1,
    "device(\"delivery-outlet\").ExportCount": 1,
    "device(\"delivery-valve\").Open": 0
  }
}Use assertions to describe behaviour over time—“the door never opens while the inner room is occupied”—and snapshots to describe the final result—“one item was exported and the door is closed”. A snapshot is not a screenshot; it is a small, deterministic set of values that makes regressions easy to spot.
Expected errors
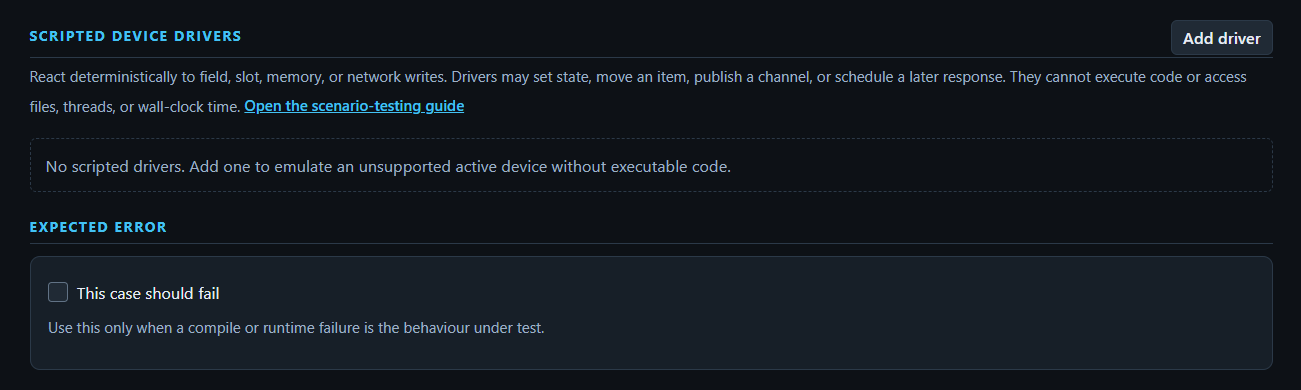
Some tests should prove that invalid programs fail safely. Use expectError when compilation or runtime failure is the expected outcome:
json
"expectError": {
  "kind": "compile",
  "messageContains": "unknown instruction"
}The supported kinds are compile and runtime. Keep the optional message fragment short enough that it describes the important part of the error.
For scenarios that need to emulate an active device, use a scripted driver. Drivers can set fields, slots, memory, or network channels, move items, publish channels, and schedule later responses. They are deliberately constrained: a driver cannot execute code or access files, threads, or wall-clock time.
Running tests in VS Code
- Open a
*.ictestfile. - Use Validate to check the scenario, programs, bounds, and assertions.
- Use Run case to execute the selected case.
- Use Open JSON for advanced editing or source-control review.
- Use the Debug action or Test Explorer when you need to pause at a breakpoint.
Test Explorer shows the file, case, and parameter levels. When a test fails, the failure includes the assertion, tick, observed value, and relevant object where available. Saving a referenced program or simulation invalidates affected results; set ic10.testing.rerunOnSave to run them again automatically.
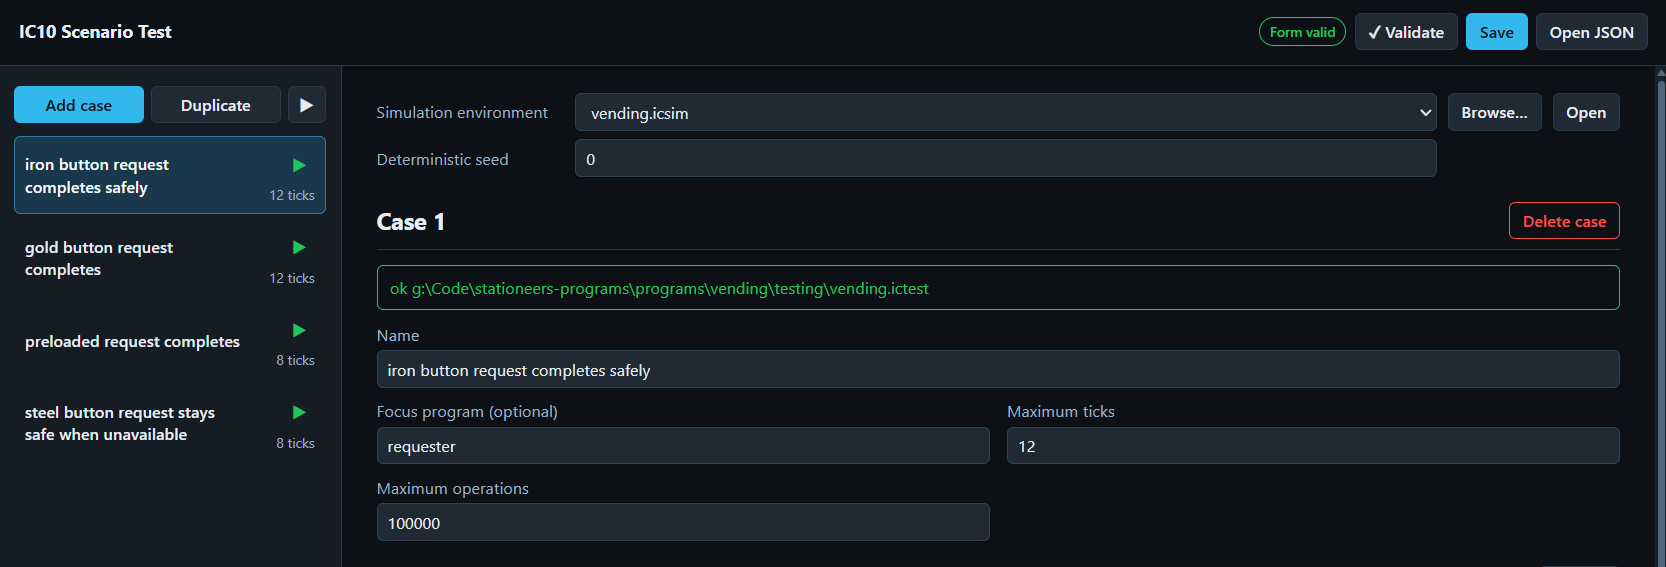
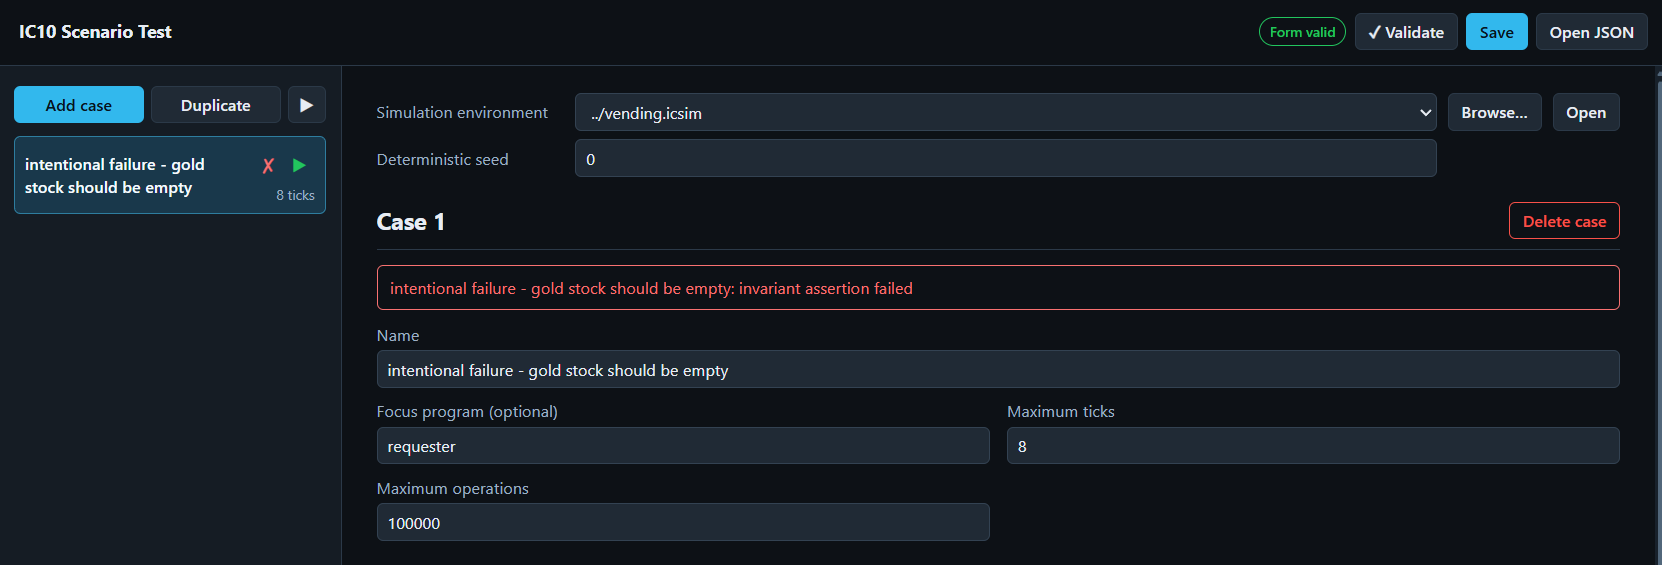
When a case fails, the case list marks it with a red failure indicator and the editor exposes the assertion failure message for the selected case. Hovering the indicator also provides a compact failure summary.
Headless runs and CI
The bundled ic10 runner emits human-readable, JSON, or JUnit results:
text
ic10 check tests examples/airlock.icsim
ic10 test --filter airlock tests
ic10 test --format json --output results.json tests
ic10 test --format junit --output results.xml testsUse JUnit output when your CI service understands test reports, or JSON when a script needs structured failure details. Every case has explicit tick and operation bounds, so a broken program cannot run forever.
File names and compatibility
Use the *.ictest suffix. Older scenario-test filenames are rejected and must be renamed before running. See the repository's complete scenario testing reference for the full schema, scripted device drivers, Lua module tests, migration policy, and repeatability guarantees.